How to: Create a galaxy watercolour painting
Posted by Cass Art on 1st Jan 2019
Galaxies are spectacular and complex, so much that one can’t help but marvel ad the wonders that lie outside our planet. Recreating such a mesmerizing mixture of colours can seem like a difficult task – but in fact it’s hardly rocket science.
We asked watercolour illustrator Anna Koliadych to share her top tips for creating a galaxy-inspired painting just like her Instagram-famous ones. This tutorial requires a small amount of materials, and it’s suitable for both beginners and seasoned artists who want to experiment with colour to create paintings that are simply out-of-this-world.
Over to you, Anna…
What you need
Paint:
- Watercolour tubes
- Watercolour paper (Cold pressed)
- 2 brushes (a big one for washes and a small one for details)
- White gouache
Additional:
- Masking tape
- Pencil
- White gel pen
- Paper towels
- Water
- Plate (or another round object to trace)
- Mixing palette
STEP 1 - Secure your paper to your work surface with masking tape and trace your round object to draw a circle, applying minimal pressure with your pencil.

STEP 2 - Prepare your watercolour paint: blue (ultramarine blue), pink (Alizarin Crimson), light blue (cerulean blue) and purple, which you can achieve by mixing alizarin crimson and ultramarine blue in your palette.

STEP 3 - Wash the drawn circle with water, using a big brush. Then, add a few drops of Cerulean Blue to the centre of your circle.

STEP 4 - Repeat this step with your Alizarin Crimson and Ultramarine Blue, adding paint in the central area of your circle. Apply these colours away from the Cerulean Blue, allowing the paint to blend naturally on the saturated paper.

STEP 5 - Continue this process on the external area of the circle. You can add more details to your galaxy by adding a few drops of pink in this phase (we recommend Rose Madder Lake).
STEP 6 - While your paper is still wet, add white gouache to the mix, focusing on the central area where your Cerulean Blue is. After this step, let your painting dry completely.

STEP 7 - Using a small brush, splash some white gouache on your now-dry painting. Try flicking your brush with your finger! Use a paper towel to remove the splashes of gouache that landed outside the circle.
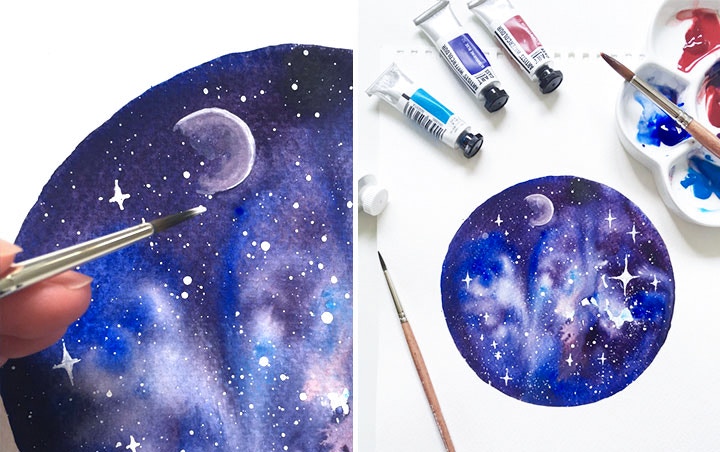
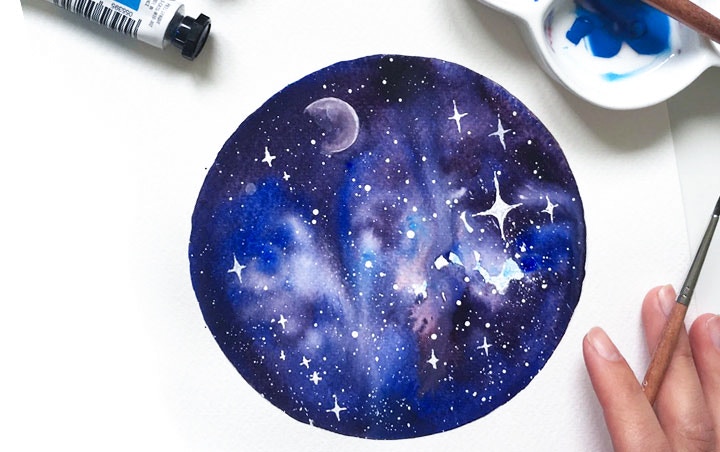
STEP 8 -Once the splashes are dry, you can draw a variety of stars on your little galaxy using white gouache or a white gel pen.

STEP 9 - On the darkest part of your artwork, paint a ¾ of a circle in white gouache. Then use a wet brush to bring the paint in, moving from the outside to the inside. Then smooth It will look like the outline of a planet!

STEP 10 - Let dry, then take off the masking tape and admire your stellar painting!

Thank you Anna for your amazing tutorial!
Did you follow this guide to make your own galaxy painting? Show us your result on Facebook, Twitter and Instagram using the hashtag #CASSART!
FEELING INSPIRED?


