HOW TO OIL PAINT ON CANVAS
Oil paint is a type of slow drying paint that consists of particles of pigment suspended in a drying oil, commonly linseed, safflower or poppy oil. The viscosity of the paint can sometimes be modified by the addition of solvents or resins. It has been about since around the 12th century. The reason oil paint takes so long to dry is because when exposed to air, oils do not undergo the same evaporative process as water does. It polymerises into a dry semisolid.
The advantages of the slow drying quality of oil paint is that an artist can develop a painting gradually as they don’t have to worry about the drying time and helps with the lack of colour shift due to the prolonged period. Linseed oil has been the most popular drying oil in the whole of the oil painting history.
It dries comparably fast, and a layer on a canvas by this oil has good endurance. The only weak point is yellowing. The film tends to change its colour into yellow or dark. Therefore almost painters avoid this oil for bright colours like white or yellow.
SETTING UP YOUR WORKSPACE
Creating art requires a conducive environment. Learn how to prepare your painting area effectively. From choosing the right lighting and ventilation to organizing your tools for easy access, creating a safe and inspiring workspace is essential. Dive into safety tips, including proper ventilation when working with oil mediums and solvents.

SELECTING THE RIGHT CANVAS
When it comes to painting, the canvas you choose can significantly impact your creative process and the final outcome of your next work. With a multitude of canvas types available, each with its unique characteristics, navigating through the options can be a tad overwhelming.
COTTON CANVAS
Canvas can be a great motivation for every artist to create something new, thanks to its versatility. It is also the most common support medium for oil painting as well as other styles of painting, including acrylic, acrylic pouring and mixed media collages. Available in various sizes and textures, these canvases cater to diverse artistic needs, ideal for both seasoned professionals and emerging artists. Discover our collection, known for its quality and adaptability, allowing you to express your creativity effortlessly.Shop our range of stretched canvas from brands such as Winsor & Newton, Daler Rowney, Loxley as well as Cass Art own brand of professionally made canvas.
LINEN CANVAS
Discover Cass Art's Linen Stretched Canvases, meticulously crafted from premium linen fibers, offering durability and a smooth texture for your artworks. Available in various sizes and depths, these canvases suit diverse artistic needs, whether you're a seasoned professional or an emerging artist. Explore our collection known for its archival quality and ability to enhance intricate details in your artwork. Elevate your painting experience with these superior canvases designed to inspire creativity. Shop now to find the perfect canvas to bring your artistic visions to life.
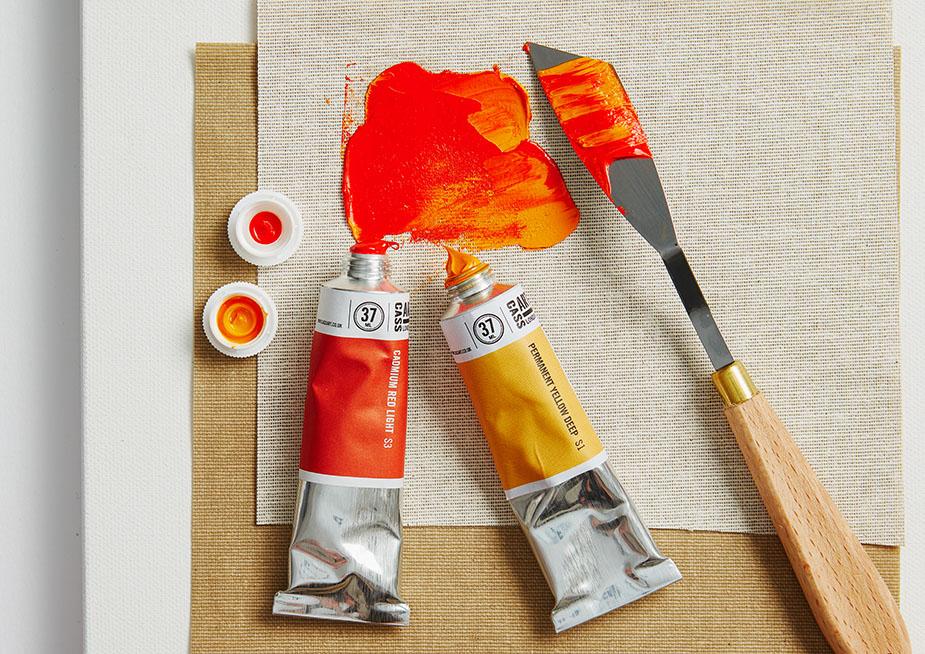
ESSENTIAL OIL PAINTING MATERIALS
An oil medium is a substance added to paint in order to alter the way the colour behaves and in some cases appears. There are a number of reasons why you might use a medium, including to alter sheen, drying time, texture or transparency.
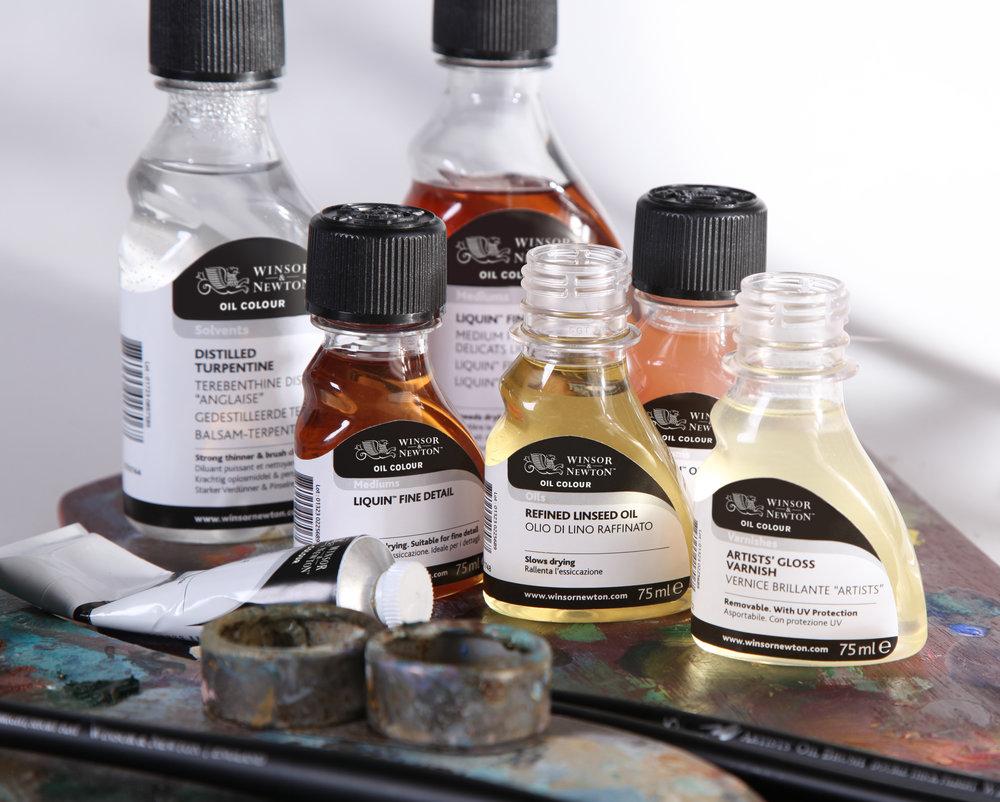
LINSEED OIL
The Winsor & Newton Liquin Original Medium is one of the best-selling mediums at Cass Art. It speeds up drying time, which we all know can be a bonus, and halving the drying time of your painting. It also brings a silky consistency to your paint, giving the surface a glossy finish. Another advantage is that it doesn’t affect the colours of your paint.
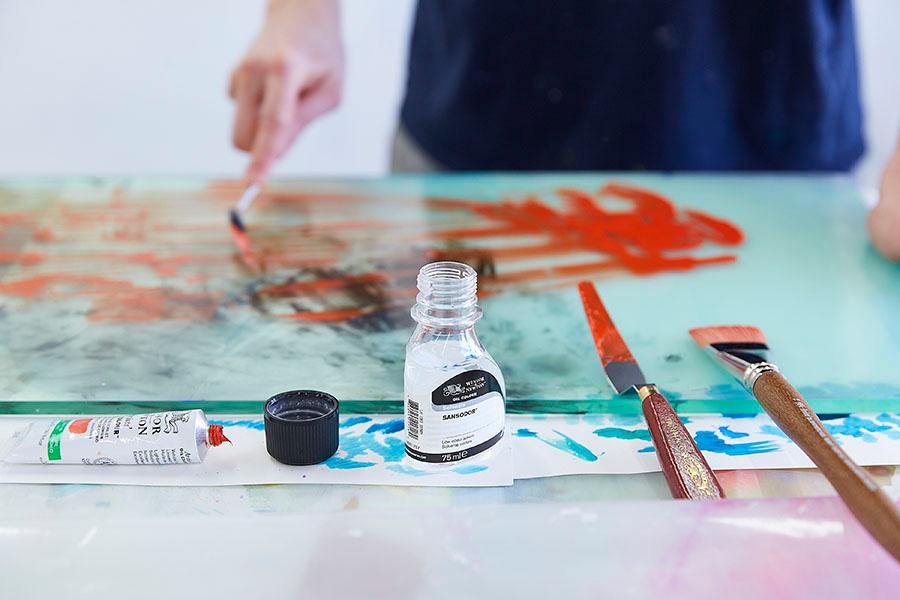
TURPENTINE
Turpentine is a highly refined solvent for thinning oil colour and cleaning brushes. You will find it extremely effective in reducing the consistency of your colours and also at removing paint. It is a is fast-evaporating and toxic, and should only be used in a well-ventilated area. UK shipping by road only.
STEP-BY-STEP GUIDE TO OIL PAINTING ON CANVAS
STEP 1 - PREPARING THE CANVAS
Start by preparing your canvas. Ensure it's clean and primed with gesso, providing the ideal surface for your masterpiece. Consider toning the canvas with a neutral colour to avoid stark white and facilitate colour harmony.
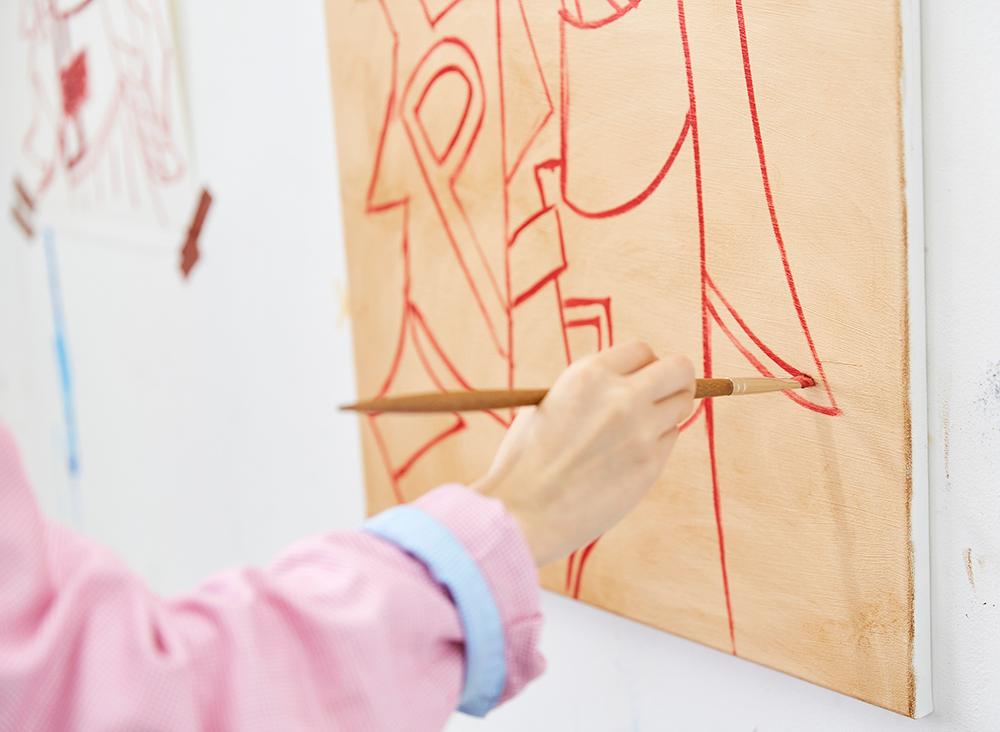
STEP 2 - SKETCHING THE DESIGN (OPTIONAL)
Sketch the basic outline of your composition using a charcoal pencil or thinned paint. This initial sketch serves as a roadmap for your painting, guiding the placement of elements and proportions.
STEP 3 - UNDERPAINTING
Create an underpainting using thinned paint or a neutral colour. This foundational layer establishes the values and general colours of your artwork, setting the tone for subsequent layers.
STEP 4 - BLOCKING IN COLOURS
Begin blocking in the main colours and shapes of your composition. Work from the background to the foreground, applying broad strokes to capture the overall essence of your subject.
STEP 5 - LAYERING AND BLENDING
Build layers of paint to add depth and richness to your artwork. Experiment with blending colours directly on the canvas using brushes or palette knives, creating smooth transitions or textured effects.
Step 6: ADDING DETAIL AND TEXTURE
Refine your painting by adding details and texture. Use smaller brushes to add intricate elements, highlights, and shadows. Explore different brush techniques to create textures and visual interest.
STEP 7 - FINAL TOUCHES AND REFINEMENTS
Step back and evaluate your painting. Make any necessary adjustments to balance colours, refine edges, and enhance contrasts. Focus on achieving a harmonious and polished final piece.
CARING FOR YOUR OIL PAINTINGS
STORAGE
Begin with the basics: storage. To maintain the quality of your oil paints, store them in a cool, dry place away from direct sunlight and extreme temperatures. Excessive heat can cause the pigments to deteriorate, while extreme cold may lead to the hardening of oil mediums.
CLOSING THE LID: PREVENTING DRYING
Always ensure that the lids of your oil paint tubes are tightly closed after use. This prevents the paint from drying out and forming a skin on the surface. Additionally, wipe the threads of the paint tubes before sealing them to prevent them from sealing shut due to dried paint.
MAINTAINING BRUSHES
Proper care for brushes is paramount. After each painting session, clean your brushes thoroughly with a gentle solvent such as odorless mineral spirits or specialized brush cleaners. Reshape the bristles and allow them to dry completely before storing them. Store brushes vertically or horizontally in a container to maintain their shape and prevent bending or fraying of the bristles.
DRY TIME
Allow your oil paintings to dry thoroughly in a well-ventilated area away from dust and direct sunlight. The drying time varies depending on the thickness of the paint layers; thicker layers may take weeks or even months to completely dry. Patience is key in ensuring the paint sets properly without cracking or becoming tacky.
VARNISHING YOUR WORK
Once your oil painting is completely dry, consider applying a protective varnish. Varnishes not only enhance the colors and textures of your artwork but also act as a barrier against dust, moisture, and UV radiation. Choose a varnish specifically formulated for oil paintings, and apply it evenly using a soft brush in a clean and dust-free environment.
STORAGE
When storing your completed oil paintings, ensure they are fully dry and varnished. Store them vertically in a location free from humidity, extreme temperatures, and direct sunlight. Consider using acid-free archival materials for framing and storing to prevent damage over time.
Caring for your oil paints transcends mere maintenance—it's about respecting the craft and preserving your artistic legacy. By adopting these essential practices, you not only prolong the life of your oil paints but also ensure that your artworks remain as vibrant and captivating as the day they were created.
Add To List
Add a Wishlist
form to add wishlist here